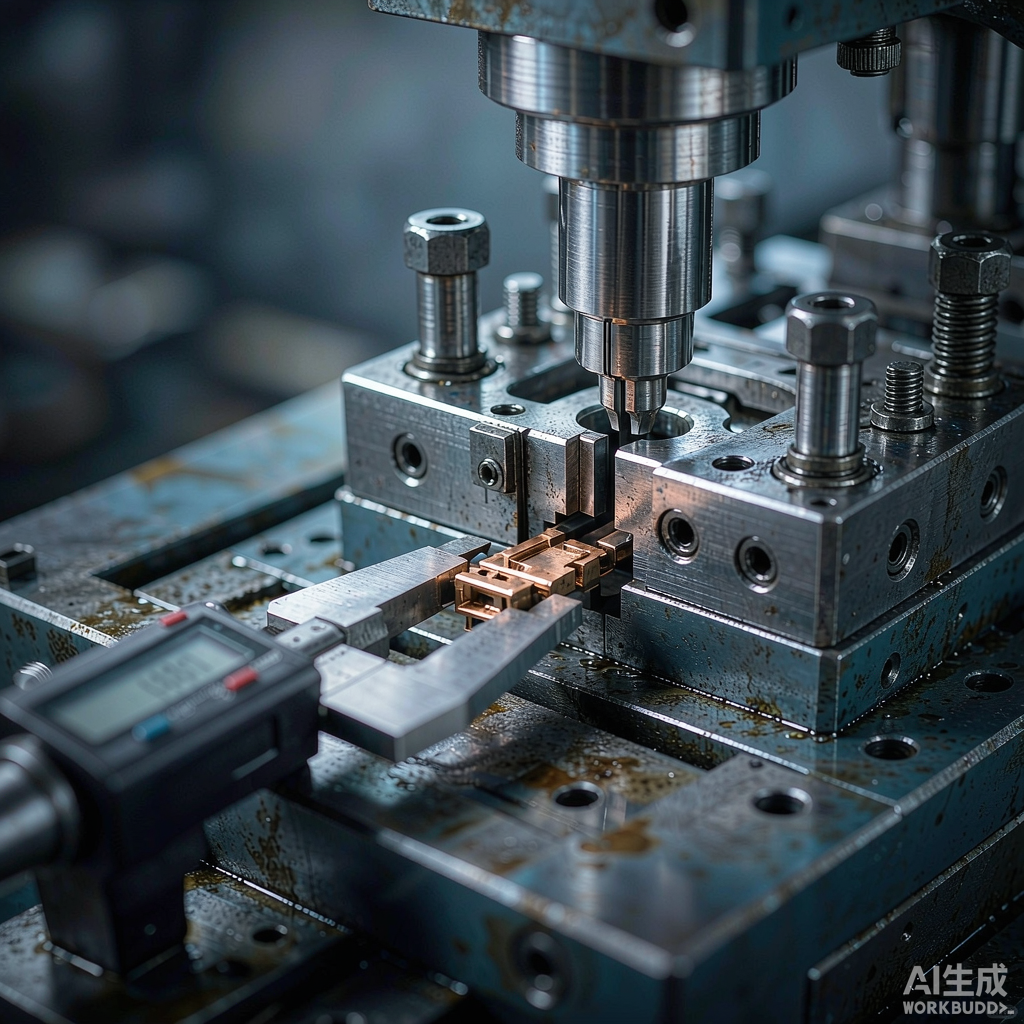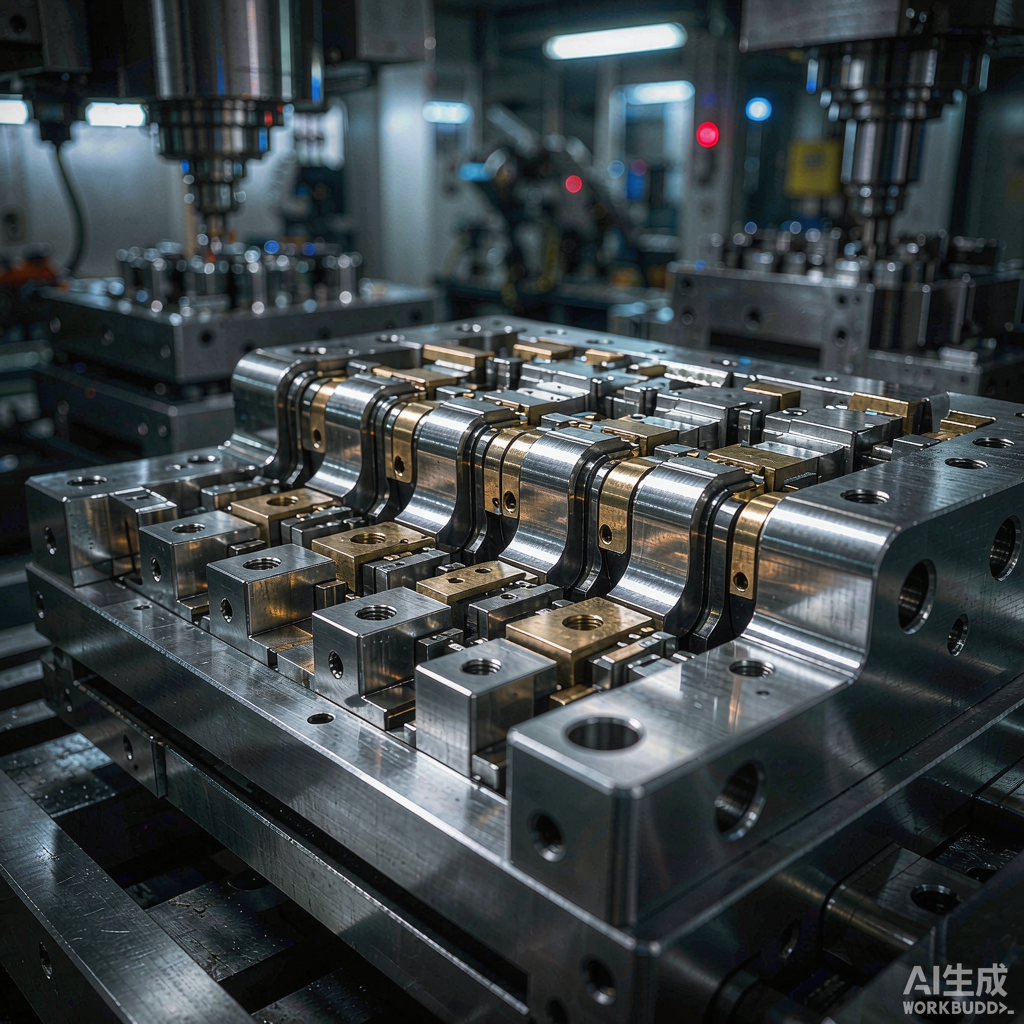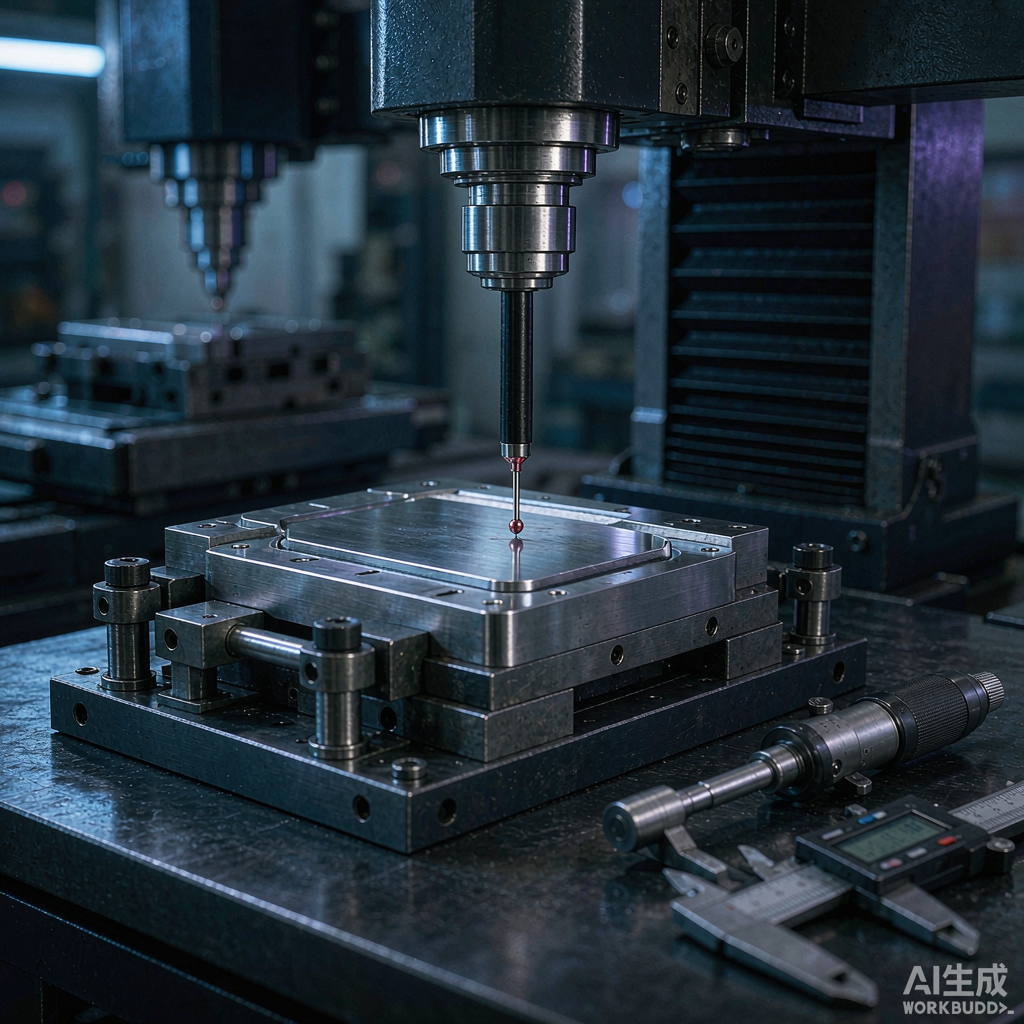
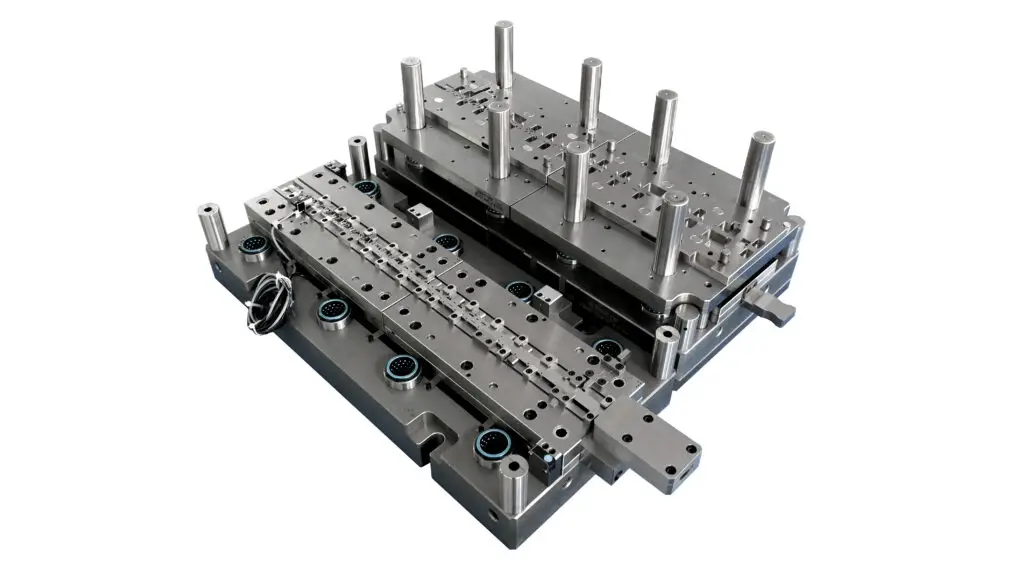
Why Stamping Die Debugging Goes Wrong — And What It Costs Your Supply Chain
Every hour a stamping die spends in debug mode is an hour your parts aren’t shipping. In precision industries — automotive connectors, EV battery terminals, medical device components — a die that takes three weeks instead of three days to commission can cascade into missed delivery windows, air freight surcharges, and lost production line capacity. Yet the same five mistakes keep appearing across toolrooms worldwide. Here’s what they are, why they happen, and how top-tier toolmakers prevent them.
Mistake #1: Material Spring-Back — Designing on Assumptions, Not Certificates
Spring-back is the elastic deformation recovery that occurs when formed sheet metal is released from the die. It’s a fundamental material behavior — not a design error — but the mistake is treating it as a constant. The same steel grade (e.g., SPCC) from two different mills can show yield strength differences of 15–25 MPa, which translates to a 1.5°–3° difference in spring-back angle for a 90° bend.
The real cost: A die built with 2° over-bend compensation will produce acceptable parts from Mill A’s coil but scrap from Mill B’s coil. If you only discover this during the first production run with customer-supplied material, you’re looking at 2–5 days of emergency re-machining.
What top shops do differently:
- Demand mill test certificates (MTC) before die design begins. Cross-reference the actual tensile test data (yield strength Rp0.2, tensile strength Rm, elongation A80) against the supplier’s nominal spec sheet. A 10-minute check saves weeks of debugging.
- Build adjustable bending inserts with shim packs. Instead of hard-machining the final over-bend angle into the punch, leave a 0.5° adjustment range via shim thickness changes. This gives you on-press tuning capability without pulling the die.
- Run a small-sample forming trial on a universal testing machine. Form 5–10 test strips from the actual production coil lot and measure spring-back with a digital angle gauge before final steel cutting.
- For stainless steel (SUS304, SUS301) and high-strength grades: consider stress-relief annealing before forming if the part design permits it. This can reduce spring-back by 30–50%.
| Material | Rp0.2 Range (MPa) | Spring-Back at 90° Bend (r/t=2) | Over-Bend Compensation | Batch Variation Risk |
|---|---|---|---|---|
| SPCC (Cold-Rolled Mild Steel) | 140–220 | 1°–3° | 2°–3° | Medio |
| SPFH590 (High-Strength Steel) | 420–500 | 5°–9° | 6°–10° | Alto |
| SUS304 (Austenitic Stainless) | 205–310 | 3°–7° | 4°–8° | Alto |
| C5210 Phosphor Bronze | 380–520 | 4°–8° | 5°–9° | Very High |
| A5052-H32 (Aluminum-Mg Alloy) | 193–228 | 2°–5° | 3°–6° | Low–Medium |
Mistake #2: Blanking Clearance — The “Same-for-Everything” Fallacy
Walk into any toolroom and ask what clearance they run for blanking. Too many will answer “10% per side” without hesitation. This single number is responsible for more premature punch wear, excessive burr, and die chipping than any other parameter. Clearance is material-specific, thickness-dependent, and application-sensitive — a universal rule doesn’t exist.
The real cost: On a connector terminal die running 300 strokes per minute, incorrect clearance of just 0.005 mm can reduce punch life from 1 million hits to 150,000 hits. That’s the difference between quarterly tool maintenance and weekly production stoppages.
| Material Category | Recommended Clearance (% of t, per side) | Typical Burr Height Target | Common Application |
|---|---|---|---|
| Soft Copper (C1100, t < 0.5mm) | 3–5% | < 0.03 mm | Electrical contacts, bus bars |
| Mild Steel (SPCC, t 0.5–2.0mm) | 5–8% | < 0.05 mm | Automotive brackets, general stamping |
| High-Strength Steel (SPFH540+, t 1.0–2.5mm) | 10–14% | < 0.08 mm | Chassis components, structural parts |
| Stainless Steel (SUS304, t 0.3–1.5mm) | 8–12% | < 0.05 mm | Medical devices, food-grade components |
| Aluminum (A5052/A6061, t 0.5–2.0mm) | 6–9% | < 0.04 mm | Lightweight brackets, electronics housings |
What top shops do differently:
- Verify actual punch-to-die clearance with a CMM or bore gauge after assembly — never trust nominal machining alone. A 0.005 mm deviation from target is detectable and correctable.
- For thin materials (t < 0.3 mm), specify wire-EDM cutting for both punch and die to maintain clearance consistency within ±0.002 mm across the entire profile.
- Document the clearance calculation on the die assembly drawing with a clear note: material grade, thickness, and per-side clearance value. This eliminates guesswork during die maintenance.
- Implement a first-off burr check: measure burr height on parts 1, 50, 500, and 5,000 during die tryout to establish the wear trend before shipping.
Mistake #3: Progressive Die Pitch Drift — When 0.02mm Per Station Becomes 0.2mm at the End
Progressive dies are precision transport systems. The strip must advance at an exact pitch between each station, and pilot pins must engage before forming or cutting begins. When pitch drifts — even fractionally — the cumulative error across 8–15 stations can push final part dimensions beyond tolerance even though every individual station measures correctly in isolation.
The real cost: You ship “good” parts that pass your gauge checks because you’re inspecting per-station output, not the fully formed part at the final station. The customer’s CMM catches the error. You get a CAPA (Corrective and Preventive Action) request and a hold on shipments — all because of a pilot pin that was 0.03 mm undersized.
What top shops do differently:
- Match pilot diameter to actual pierced hole diameter, not nominal. Measure 50 strip samples after the pilot-hole piercing station, calculate the mean hole diameter, and select pilots with 0.005–0.01 mm clearance to that actual mean — not 0.03 mm clearance to a nominal number.
- Run a station-by-station position audit: after loading the strip, manually advance it through all stations with the press in jog mode. Use a digital height gauge or vision system to measure the strip position at each station relative to a fixed datum. Document and approve before continuous running.
- Check coil camber before loading: a coil with >1 mm/m lateral curvature will twist inside the strip guides, causing diagonal positioning error. Source flat-cut edge-conditioned coil for progressive dies with >8 stations.
- Install a miss-feed sensor: optical or contact-type sensors that detect short-feed and long-feed conditions and trigger an emergency stop before tooling damage occurs.
Mistake #4: Press-Die Alignment — Bench Alignment vs. Dynamic Run Conditions
A die aligned to within 0.005 mm on a granite surface plate can shift 0.03–0.08 mm under 80 tons of dynamic pressing force. Bolster deflection, ram parallelism drift, and thermal expansion of the press frame all contribute. Dies tested only on the bench are tested under conditions that don’t exist in production.
The real cost: Uneven punch wear appears as one-sided burr formation after 20,000–30,000 hits. The punch needs re-grinding or replacement. Over a 500,000-hit production run on a high-speed press, this means 15–25 unplanned die pulls — each costing 4–8 hours of downtime. At $200–500 per press-hour, the math is brutal.
What top shops do differently:
- Measure press ram-to-bolster parallelism under load using four dial indicators at the corners. A 0.02 mm difference corner-to-corner should trigger press maintenance before loading the die.
- Use precision roller-cage guide posts instead of plain bushings for dies requiring <0.01 mm alignment. Roller cages maintain alignment under side-load conditions that cause plain bushings to wear oval.
- Tag every die with its qualification press number. A die qualified on Press #3 (newer, tighter frame) may not produce the same results on Press #7 (older, more deflection). This simple documentation practice prevents misassignment.
- Run shut-height verification every 50,000 hits. Record the value in the die maintenance log. Gradual shut-height drift is an early warning of press or die mounting wear.
Mistake #5: The Incomplete First Article Inspection — Rushing to Ship, Then Rushing to Fix
First Article Inspection (FAI) is the single most important quality gate between die completion and production release. Yet under deadline pressure, FAI gets abbreviated: a visual check replaces CMM measurement, burr height is estimated instead of measured, and surface finish is assumed “good enough” because the die is new.
The real cost: A shipment of 5,000 connector terminals with burr height at 0.08 mm instead of the specified 0.05 mm. The customer’s automated assembly line jams at the insertion station. You get a field failure report, a containment request, a sort-and-rework chargeback, and — worst of all — a damaged supplier rating that affects future RFQ win rates.
What a complete FAI looks like:
- Dimensional: 100% of critical dimensions measured on a calibrated CMM, with measurement uncertainty documented (ISO 14253-1 compliant). Key characteristics flagged on the balloon drawing.
- Burr height: Measured at all cut edges using a profilometer or digital optical comparator. Recorded per edge with location identification.
- Surface finish: Ra/Rz values measured on functional surfaces (contact areas, sealing surfaces, sliding interfaces).
- Material verification: Mill test certificate cross-referenced against the drawing material specification. Chemistry and mechanical properties confirmed.
- Process capability study: Run 300–500 consecutive parts after die approval, measure a 10% random sample (30–50 parts), and calculate Cp/Cpk on critical dimensions. Minimum Cpk of 1.33 before releasing to production.
- Document everything: FAI report (AS9102 or equivalent format), CMM data files, burr measurement logs, material certs, and process capability charts. This package ships with the first article parts.
Die Debugging Readiness Checklist
Before any die leaves the toolroom for tryout, these verification steps must be completed. Skip any one, and you’re gambling with your production schedule:
- ✅ Mill test certificate reviewed — actual material properties confirmed, not assumed
- ✅ Punch-to-die clearance verified with CMM — clearance values documented on assembly drawing
- ✅ Progressive die pitch audited station-by-station — paper strip test completed and positions documented
- ✅ Press condition verified — ram-to-bolster parallelism measured under load; press ID recorded on die drawing
- ✅ First Article Inspection plan approved — FAI report template ready, measurement equipment calibrated, process capability criteria defined
Stop Debugging. Start Shipping.
En Trabajos precisos Plus, we don’t treat die debugging as an inevitable phase of tool delivery — we treat it as a quality process that starts at material specification and ends at a complete FAI report. Our progressive dies, compound dies, and precision stamping tooling are engineered for automotive connectors, EV components, medical devices, and industrial hardware — built by toolmakers who understand that every hour of debugging costs you money.
Ready to work with a stamping die supplier that ships on time and on tolerance?
📧 rockie.liu@preciseworksplus.com
Data sources: ASM Handbook Volume 14B — Metalworking: Sheet Forming (2024 Edition); ISO 14253-1 Geometrical Product Specifications; Progressive Die Design Guidelines — Japan Die & Mold Industry Association; Supplier field data from Precise Works Plus die tryout records (2024–2026).